/
How to configure an Action
How to configure an Action
- Alexander Beate (Unlicensed)
- Sebastian Koch
Owned by Alexander Beate (Unlicensed)
An action is needed to initiate a remote command from the Cloud.
Here is an XML code to switch a fan on and off, which we will take as example to create a new action.
<action action_id="fan_output" device_id="dev_X20BC0087">
    <commands>
      <command command_id="ON">write_single_coil(16,[1])</command>
        <command command_id="OFF">write_single_coil(16,[0])</command>
      </commands>
    </action>
Step-by-step guide
- Log into the Dashboard. Go to Config/Provisioning → Sensor Templates → Site Templates and click on edit next to the location you wish to edit.
- Activate the SuperUser Mode and expand the Actions row
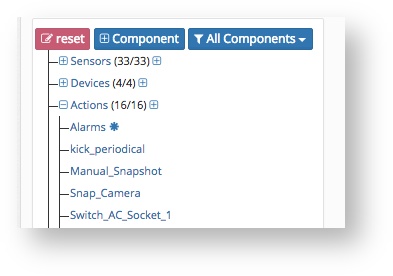
- Now click the + next to Actions and click on the new create action.
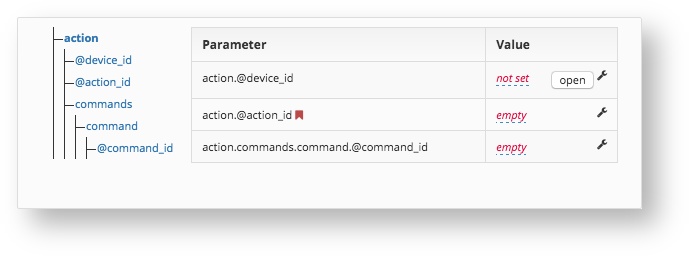
- Firstly we need to add the device where the fan is connected to. This is the device_id. In our example it is connected to the X20BC0087 module.
- Secondy we need to give the action an action_id. This is the unique name for the action. in our example it is called fan_output.
- Lastly we need to define wich coil will be called with the command_id. In our example the coil 8 will be switched on (1) or off (0).
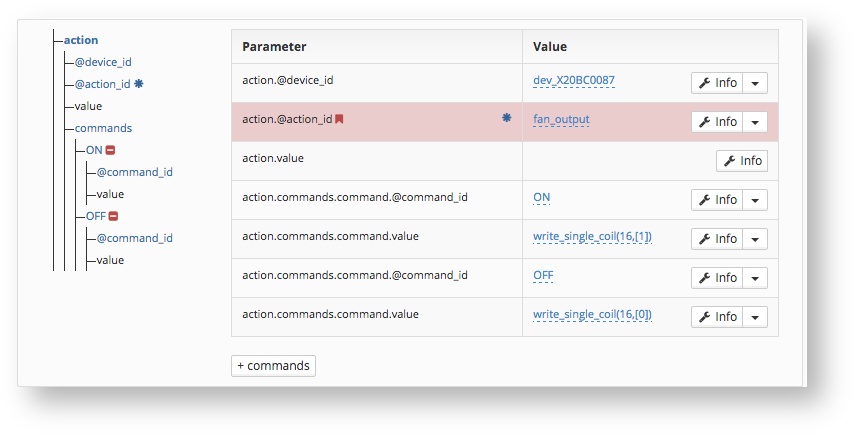
- You will need to use the "+ commands" function to add the specific rows.
- Next switch back to normal user.
Next steps:
- Deploy the edited Site Template to the required location to apply your changes. Check the How-to How to deploy a Site Template.
- Test the action, you can fire actions from a configured view (Views → Your View) or from Organization → Locations → Your Location, scroll to the bottom to see available actions
Related articles
, multiple selections available,
Related content
How to trigger remote Actions directly
How to trigger remote Actions directly
More like this
How to use remote calls from cloud for common maintenance tasks
How to use remote calls from cloud for common maintenance tasks
More like this
How to import external Site Templates
How to import external Site Templates
More like this
How-To Create an Action
How-To Create an Action
More like this