...
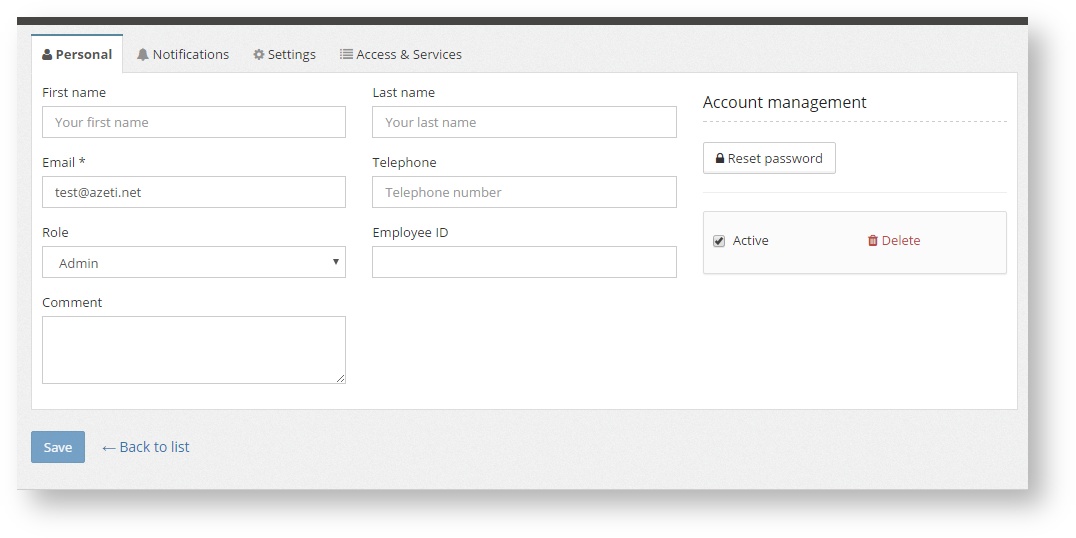
- Personal, where the user personal data,such as phone, name, id, etc. is set. For a new user a password has to be set. For existing users the password can be changed using the "Reset Password" option. Here the users can be deleted with the Delete button. They can also be deactivated, which means that the user will still be in the system but without being able to access the system.
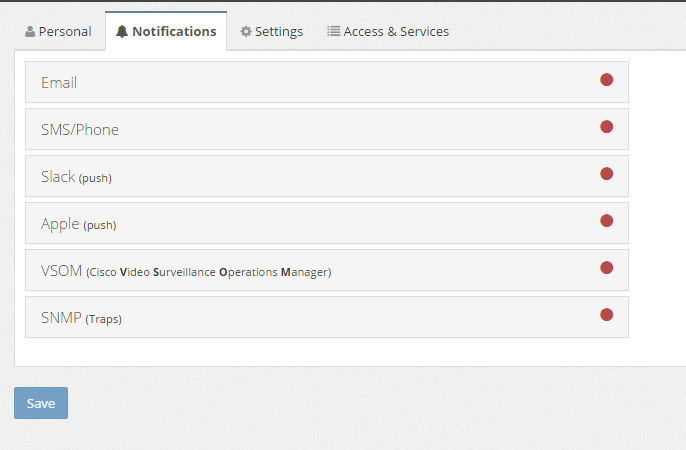
- Notifications, where the user specific notifications settings are configured (see Notifications)
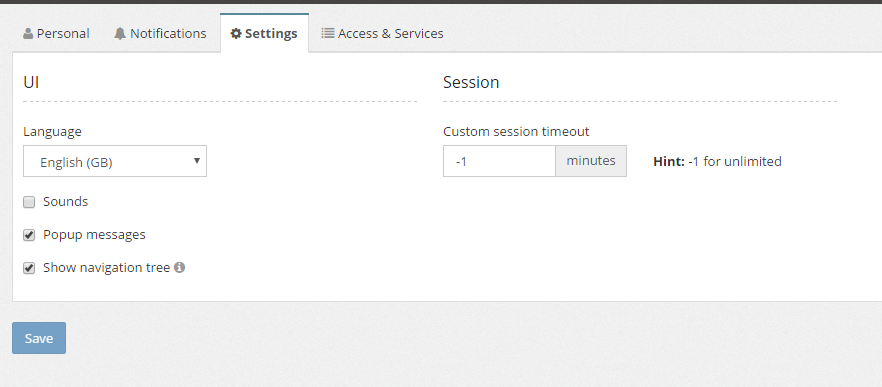
Settings, where the user can language can be selected, enable/disable the sounds and popup notifications, and the timeout. To disable the timeout set it to -1.
Warning Setting the timeout -1 means that the session will never be closed by the system. If a user closes it's browser and opens it again, the session will still be open and the system accessible with the last user privileges. This can be a security risk under certain scenarios.
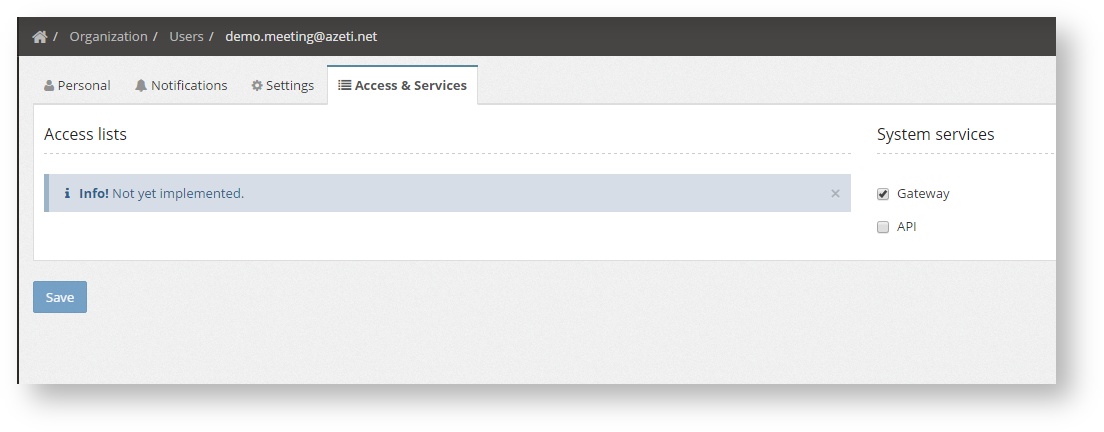
- Access & Services, to set certain additional privileges to the users, such as Gateway (the username can be used in the gateways for connection) or API (the username can be used by third party software to access the external API)
The page shows all the user, along with their basic information. The E Mail is what is used as username.
Users Roles
Users can have different roles. These are:
- Admin: For users with administrators rights. Are allowed to edit the sites, the templates, add/delete users, etc.
- Operator: For basic users with no configuration rights. They can see all the information and execute actions, but cannot change anyconfiguration
- None: No right to access the server. This are used for users that are only going to receive notifications or for gateways that are going to send data.
Only an Administrator can change the role of a user, but it can be done at any moment.
Services
Users can have enabled two different services:
- Gateway: Users that are used in a SiteController to authenticate when connecting to the server must have this role.
- API: For users that are going to connect to the external API (see External API)
Creating and editing a user
To create a new user click the +Add button. To edit a user, click the Edit button. In both cases the user edition page is shown. Each user has different options in different tabs:
- Personal, where the user personal data,such as phone, name, id, etc. is set. For a new user a password has to be set. For existing users the password can be changed using the "Reset Password" option. Here the users can be deleted with the Delete button. They can also be deactivated, which means that the user will still be in the system but without being able to access the system.
- Notifications, where the user specific notifications settings are configured (see Notifications)
Settings, where the user can language can be selected, enable/disable the sounds and popup notifications, and the timeout. To disable the timeout set it to -1.
Warning Setting the timeout -1 means that the session will never be closed by the system. If a user closes it's browser and opens it again, the session will still be open and the system accessible with the last user privileges. This can be a security risk under certain scenarios.
- Access & Services, to set certain additional privileges to the users, such as Gateway (the username can be used in the gateways for connection) or API (the username can be used by third party software to access the external API)
| Info |
|---|
After making any changes the Save button has to be pressed to make them permanent. |
Time periods Creation
Time periods define a weekly schedule during which certain action is valid. They are used for sending notifications or to enable access codes. Those are only valid during the defined timeperiods. To manage them go to Organization → Time Periods. This page shows all the existing one, allowing the Administrator to create more or edit them.
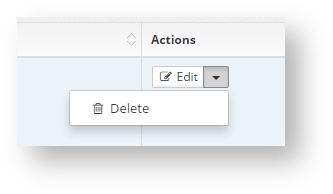
To add a new one click +Add. To Edit click Edit and to delete first click the drop down right of edit the then Delete
.
Once editing the time period, enter the name and select all the intervals needed.
And interval can last up to a day, but there can be as many intervals in a day as needed. Just select the day of the week, enter the time, and click Add. The interval will be added to the list at the bottom of the window. To delete an interval just click on the cross to the right of it.
Once all the changes are made click Save to make them permanent.
Location Structure Edition
...
